Sash Window Restoration

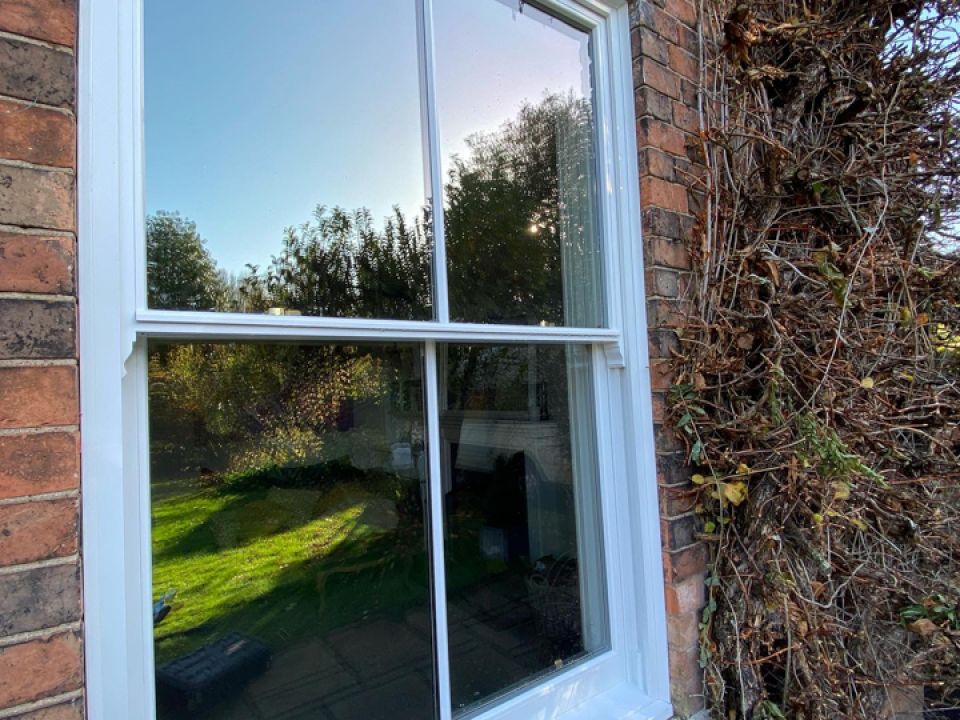
Restoring original sash windows is one of the most rewarding projects you can undertake in a period property. These elegant, vertically sliding windows, whether Georgian, Victorian or Edwardian, add charm, authenticity, and architectural value to your home.
Yet time and wear take their toll. From painted-shut sashes and broken cords to whistling draughts and rotting frames, many issues affect sash window functionality and aesthetics. Left unchecked, these problems can compromise not just energy efficiency, but also the historic character of your home.
At Old English Doors, we help property owners, conservation professionals and keen DIYers restore sash windows to their former glory. Whether you're doing a full restoration or tackling one issue at a time, this guide walks you through the practical steps and heritage considerations for a successful sash window repair.
Knowing the Problems: When & Why to Act
Sash windows, made from timber and joined with hand-cut joints and counterbalanced by sash weights, are highly durable. However, exposure to the elements and lack of regular maintenance can lead to a variety of issues over time.
Common problems include areas of rot, usually found at the lower rails or cills where water collects. Friction or stiffness when opening the window is often caused by years of overpainting or distorted timber. Rattling panes and whistling drafts suggest loose glass or deteriorated putty, while broken or frayed sash cords make the window heavy and unbalanced. These symptoms reduce the window’s effectiveness in ventilation, insulation, and aesthetics.
When deciding whether to repair or replace a sash window, the rule of thumb is to preserve as much original fabric as possible. Repairing damaged sections with timber splices or resin fillers retains the historical character. Full replacement should only be considered when timber is structurally unsound throughout, or when rot or infestation has compromised the entire frame. Listed buildings and conservation properties require consent before replacing any window, and even minor changes must reflect the original appearance.
Step-by-Step Restoration Process
The restoration journey begins with a close inspection. This step identifies issues like water ingress, damaged timber, stretched or broken cords, and paint build-up. Using photographs and measurements, you can create a working plan to guide the repairs. Recording the exact profile of glazing bars or rails is crucial if replacements are required, especially in listed settings.
Carefully removing the sash involves taking out the staff bead and parting bead with minimal disruption to the surrounding frame. Once these are removed, the sashes can be gently lifted out, taking care not to snap any old cords still attached to the sash weights. Replacing the cords with marine-grade alternatives ensures smoother movement and greater durability. These cords are tied to the sash weights hidden in the side boxes, allowing the windows to counterbalance properly.
Timber repairs can involve removing soft or rotten wood with a chisel and replacing it with either a spliced timber insert or a resin filler, shaped to match the original. More significant decay may require scarf joint repairs. Once structural integrity is restored, draught-proofing can be added. This may involve routing a shallow groove along the meeting rail and fitting a brush seal or weather strip. The goal is to improve insulation while keeping the original appearance of the window.
Once the sashes and frame are repaired and refitted, the entire unit should be cleaned and repainted. Use a pH-neutral solution to remove dust and grime from the timber, then sand down any rough or flaking areas. Start with a primer designed for bare wood, followed by an undercoat and two topcoats of micro-porous, exterior-grade paint. The sashes must be painted in their open position to avoid sealing them shut. Reinstallation includes refitting the beads and rehanging the sashes, checking that they slide evenly and align at the meeting rail.
Performance & Long‑Term Maintenance
Restored sash windows offer substantial performance improvements when enhanced with appropriate upgrades. One of the simplest yet most effective is draught-proofing. Adding brush seals or weather strips significantly reduces cold air infiltration and helps eliminate rattles, making interiors more comfortable and energy-efficient.
For those seeking additional thermal benefits, discreet options such as vacuum glazing or secondary glazing can be considered. Vacuum glazing uses two panes separated by a near-invisible vacuum space, delivering U-values below 0.5 while maintaining the slim profile necessary for heritage windows. This glazing fits within traditional putty-lined rebates, making it ideal for sensitive restorations.
Maintaining your restored windows ensures their longevity. Annual maintenance should include checking for flaking paint or cracked putty, lubricating pulleys, and testing sash movement. Repainting is recommended every five to eight years, with additional attention paid to horizontal surfaces and exposed joints where water is more likely to collect. Early intervention on minor issues like a sticky sash or peeling paint prevents larger problems and protects your investment in both craftsmanship and comfort.
Tool & Materials Checklist
Successful sash window restoration depends on having the right tools and materials. Essential tools include a chisel, multitool or router for timber repairs, utility knife for precise cuts, screwdrivers for bead removal, and cord threaders for reinstalling weights. Sandpaper and paintbrushes help prepare and finish surfaces.
In terms of materials, use marine-grade sash cords for long-lasting strength, epoxy or resin fillers for damaged timber, and brush seals for effective draught-proofing. Putty suitable for heritage glass settings, breathable primer and exterior-grade microporous paint ensure a traditional finish with modern protection. Sourcing matching timber profiles is essential for maintaining authenticity during any splicing or joinery work.
DIY vs Professional Restoration
Sash window restoration is achievable for dedicated DIYers, especially those with some woodworking experience and patience. Tasks like cord replacement, sanding, painting, and basic repairs are within reach of most homeowners. However, when it comes to advanced timber repair, matching mouldings, or working within conservation regulations, the expertise of a specialist becomes invaluable.
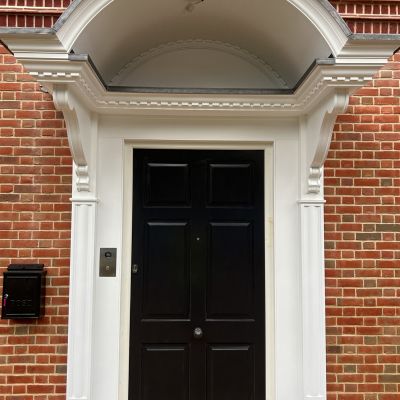
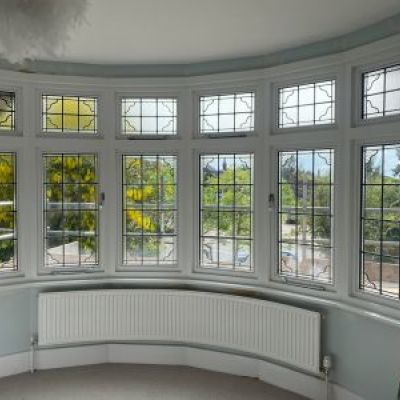
Professional restorers like Old English Doors can provide a full spectrum of services. From initial surveys and condition reports to bespoke joinery, glazing upgrades and conservation-compliant installations, their approach ensures every detail is considered. Where needed, they liaise with conservation officers and manage planning requirements, taking the stress and uncertainty out of restoring historic windows.
How Old English Doors Can Help
We restore sash windows with precision, care, and a deep respect for architectural heritage, delivering functional beauty that lasts for decades:
- Bespoke Sash Window Repairs: From replacing cords and reglazing to full frame rebuilds, our team tackles restoration at any scale using traditional joinery techniques. See our Sash Window Services.
- Heritage Expertise & Compliance: We ensure your repairs or replacements meet conservation requirements, replicating original mouldings and maintaining historical accuracy.
- Workshop & On-Site Support: Whether manufacturing made-to-measure sashes or performing on-site repairs, our joiners and installers work across the UK to restore sash windows with minimal disruption.
Partner with Old English Doors for sash window repairs that combine craftsmanship, conservation sensitivity, and long-term performance. Book a consultation or request a tailored restoration plan today.
Conclusion
Sash window restoration blends technical skill with architectural sensitivity. It is not simply about improving energy efficiency or functionality; it is about honouring the craftsmanship of the past while preparing your windows for the future.
With the right approach, even the most tired-looking sash windows can be brought back to life, improving your home's comfort, appearance, and value. Whether you are taking on a single window or restoring an entire property, patience and precision are key.
At Old English Doors, we bring years of heritage joinery experience to every sash window restoration project. From expert advice to hands-on craftsmanship, we are here to help you protect the past while enjoying the comfort of today.
A full restoration typically takes 1–2 days per window, depending on condition and scope.
It is not recommended. Original cords are often frayed or stretched and should be replaced with marine-grade alternatives.
No, modern brush seals allow controlled ventilation without uncomfortable draughts or heat loss.
Breathable, micro-porous exterior paints are ideal. They prevent moisture trapping and reduce the risk of rot.
Use a sharp knife to score the paint along all join lines. Gently tap with a putty knife and rubber mallet to loosen the seal without damaging the frame.


